
Laissez un message
Si nos produits vous intéressent et que vous souhaitez en savoir plus, veuillez laisser un message ici, nous vous répondrons dans les plus brefs délais.

🛠️ Pourquoi apprendre à régler sa propre roue ?
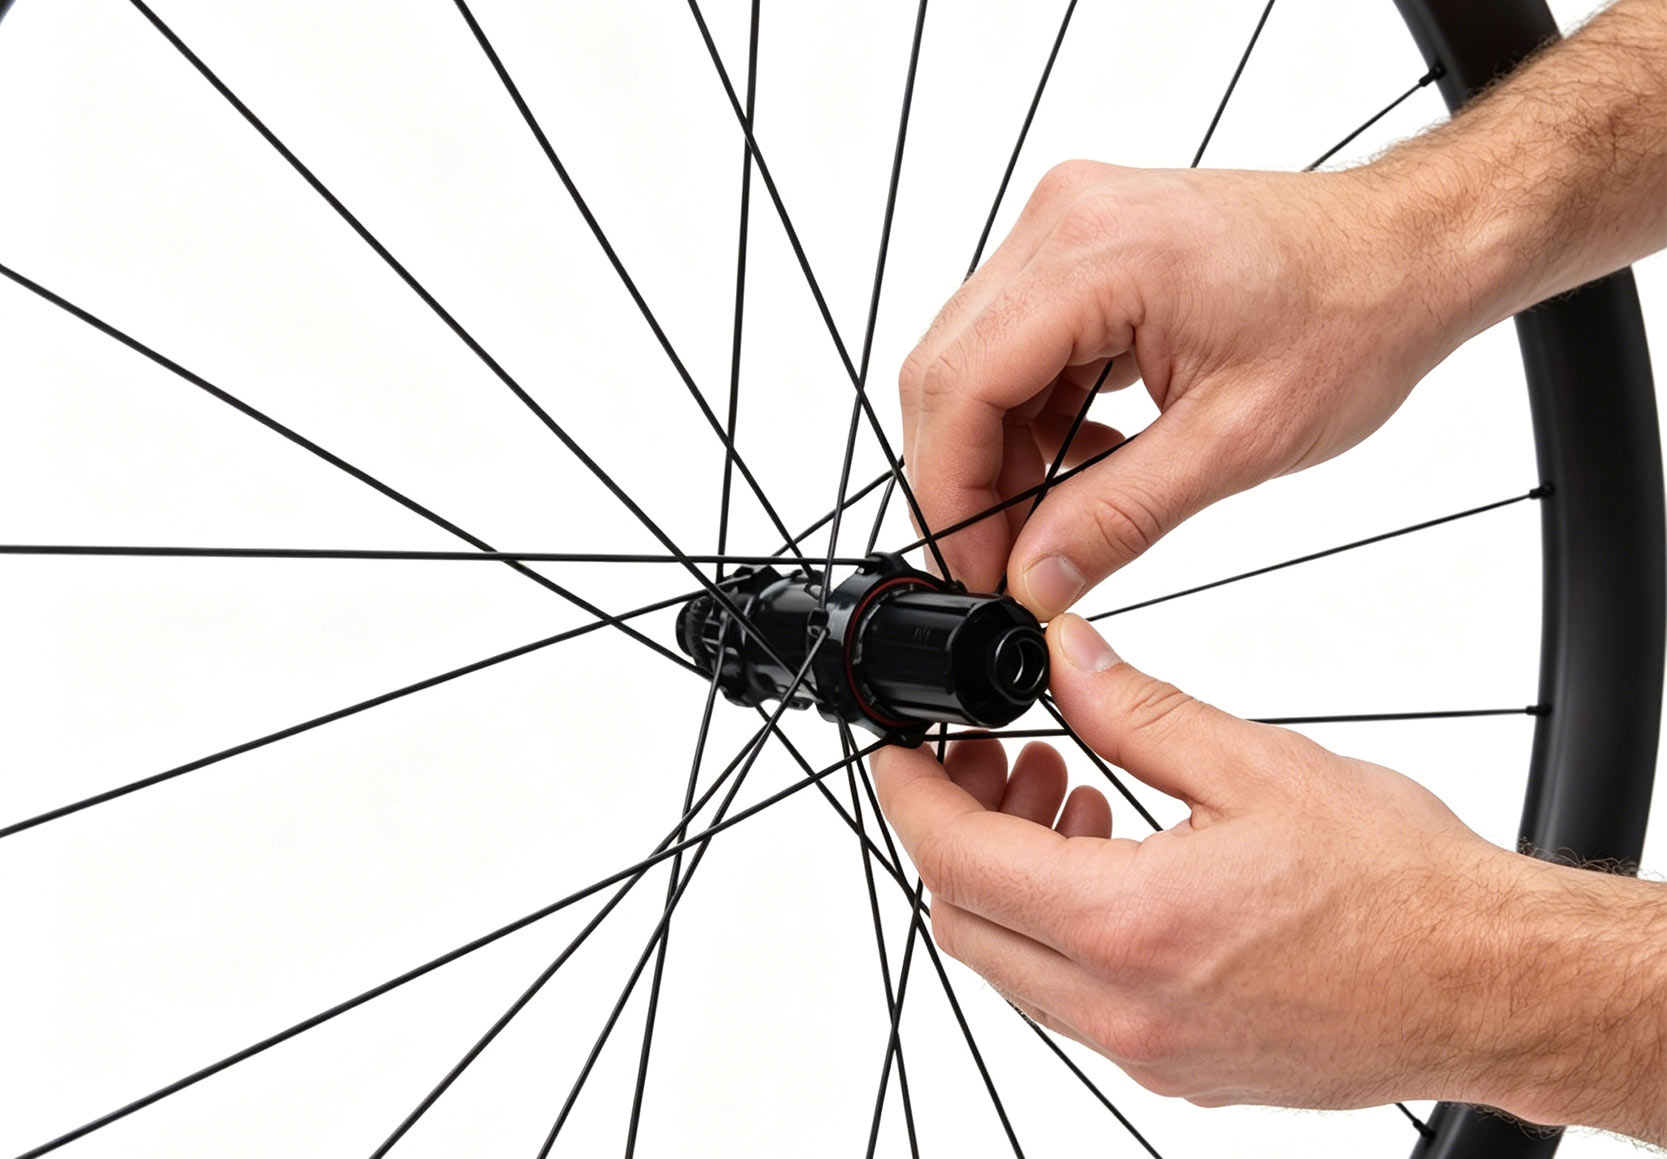
Même les roues les plus robustes peuvent se voiler avec le temps, à cause des nids-de-poule, des trottoirs ou simplement de l'usure normale. Une roue voilée n'est pas seulement instable ; elle peut frotter contre les plaquettes de frein, réduire l'efficacité du freinage et même raccourcir la durée de vie de la jante et des rayons. Apprendre à dévoiler une roue soi-même est l'une des compétences d'entretien de base les plus précieuses. Cela vous évite des déplacements chez le réparateur, vous permet de régler les petits problèmes en cours de route et vous offre une meilleure compréhension du fonctionnement de vos roues.
📦 Ce dont vous aurez besoin
Un support de centrage de roue (ou utilisez votre vélo comme support improvisé si vous n'en avez pas)
Une clé à rayons (adaptée à la taille de vos écrous de rayons, généralement 3,23 mm/3,3 mm pour des rayons de calibre 14G)
Une paire de lunettes de sécurité (les écrous de rayons peuvent éclater inopinément)
Un chiffon (pour nettoyer les rayons et les écrous de roue s'ils sont sales)
📝 Guide étape par étape
Étape 1 : Fixez la roue et repérez le jeu.
Installez la roue sur votre support de centrage ou retournez votre vélo et faites tourner la roue lentement. Observez la distance entre la jante et les patins de frein ou les bras du support. Marquez les points hauts et bas avec un morceau de ruban adhésif.
Étape 2 : Corriger le balancement latéral (d'un côté à l'autre)
-Si la jante tire vers la droite à un endroit : resserrez les rayons du côté gauche du moyeu ou desserrez ceux du côté droit.
-Si la jante tire vers la gauche à un endroit : resserrez les rayons du côté droit du moyeu ou desserrez ceux du côté gauche.
-Tournez toujours le raccord par incréments de 1/4 de tour — de petits ajustements font une grande différence !
Étape 3 : Correction du saut radial (de haut en bas)
-Si la jante présente un point haut : desserrez les deux rayons directement opposés au point haut d’un quart de tour chacun.
-Si la jante présente un point bas : serrez les deux rayons directement au niveau de ce point bas d’un quart de tour chacun.
-Faites tourner la roue après chaque réglage pour vérifier les progrès.
Étape 4 : Vérifier la tension des rayons


 IPv6 RÉSEAU PRIS EN CHARGE
Laissez un message
Scannez vers WeChat :

Scannez vers WhatsApp :